
All your tools, exactly where you need them!
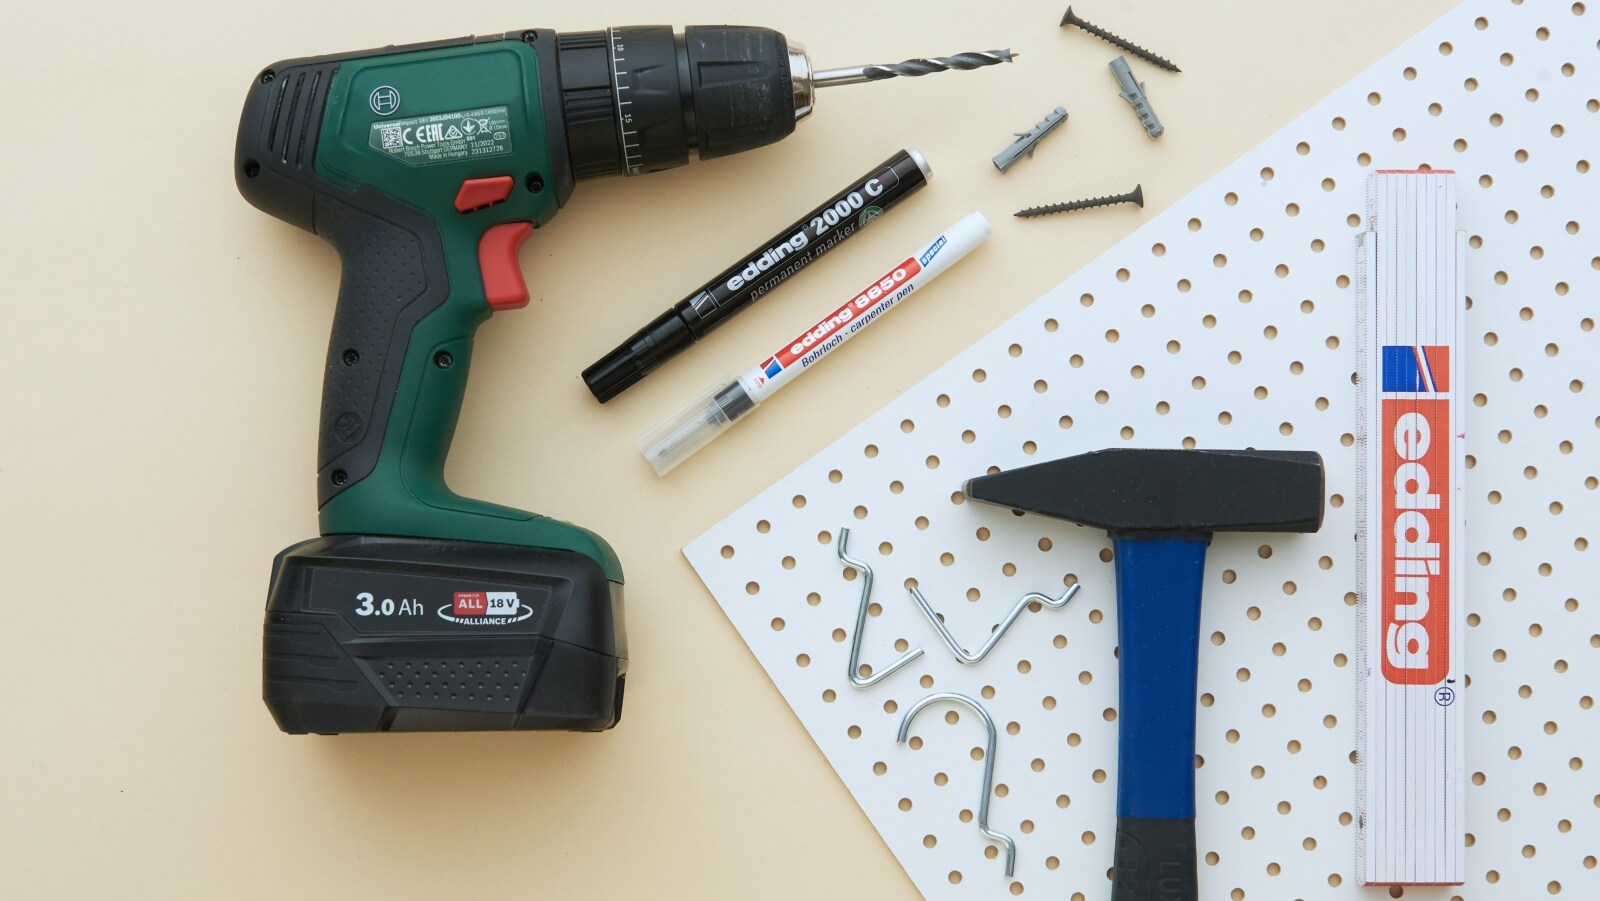
Tired of wasting time rummaging around for the right tool? What you need is a well-organised tool wall! In this Idea, we show you how - with the help of edding products – you can create your very own tool storage solution so that all your tools are readily accessible at all times. Our permanent markers are ideal for drawing the outlines of your saws, hammers, pliers and spanners on your wall to remind you exactly where everything belongs.
Category
Upcycling & DIY hacks
Products
Permanent markers
Special solutions
Materials
Concrete and stone
Metal
Difficulty
A bit more challenging
Step 1
Everything you need for this project is shown in this photo. The edding3000 black permanent marker is ideal for drawing the outlines of yourdifferent tools on the wall.
 Step 2
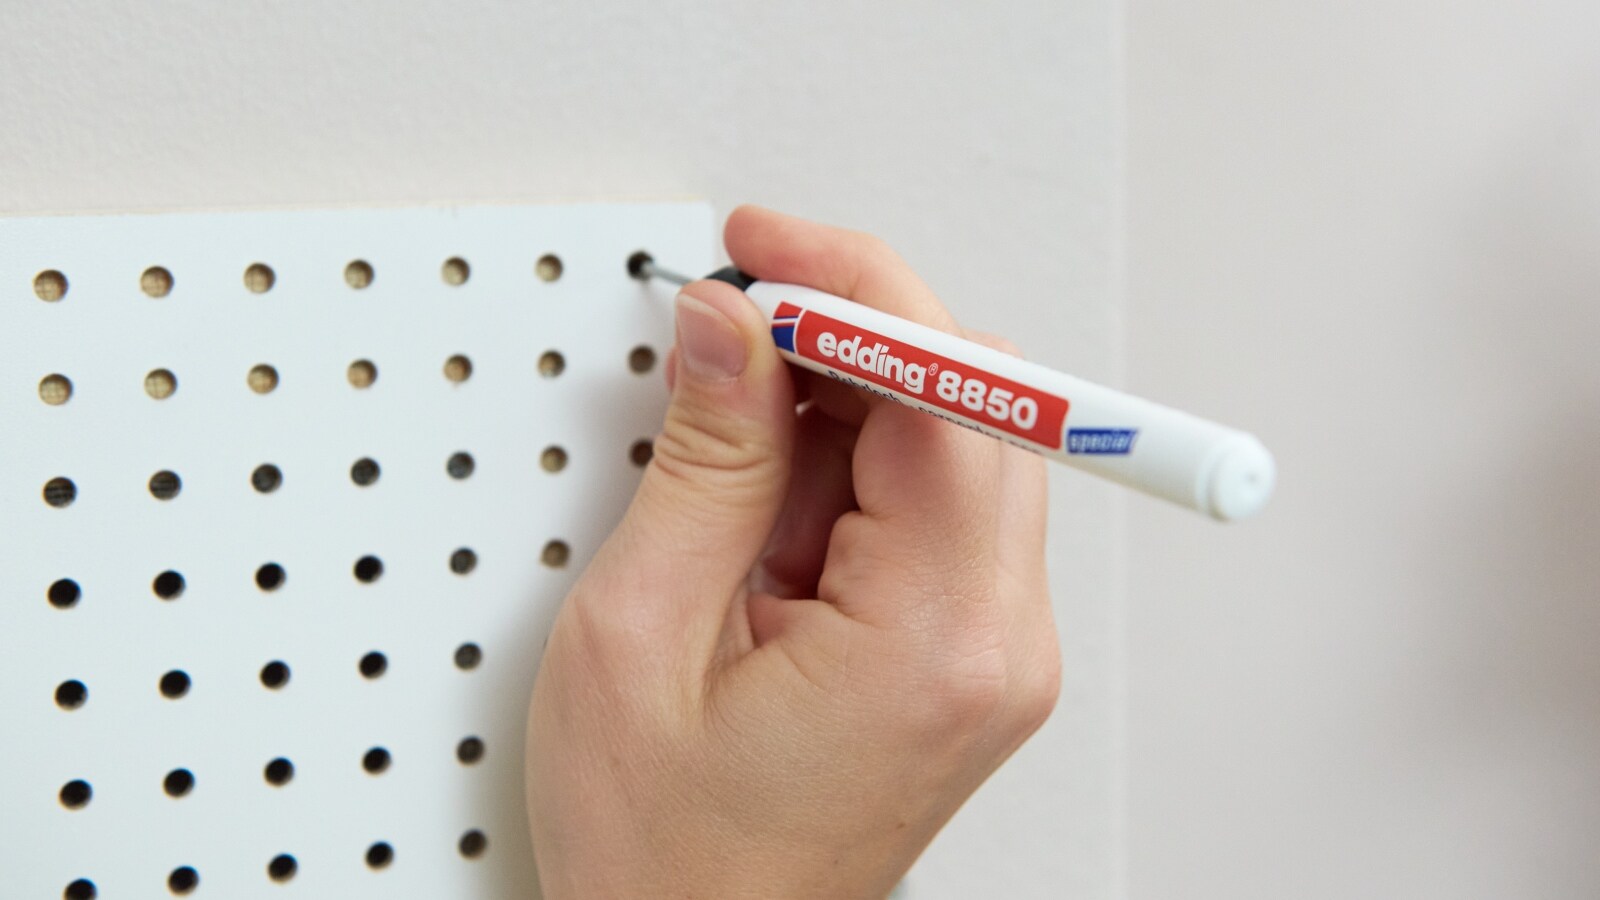
First, you'll need to fix your pegboard to the wall. The edding 8850carpenter pen is a really handy tool for clearly marking your drill holeson the wall.
 Step 3
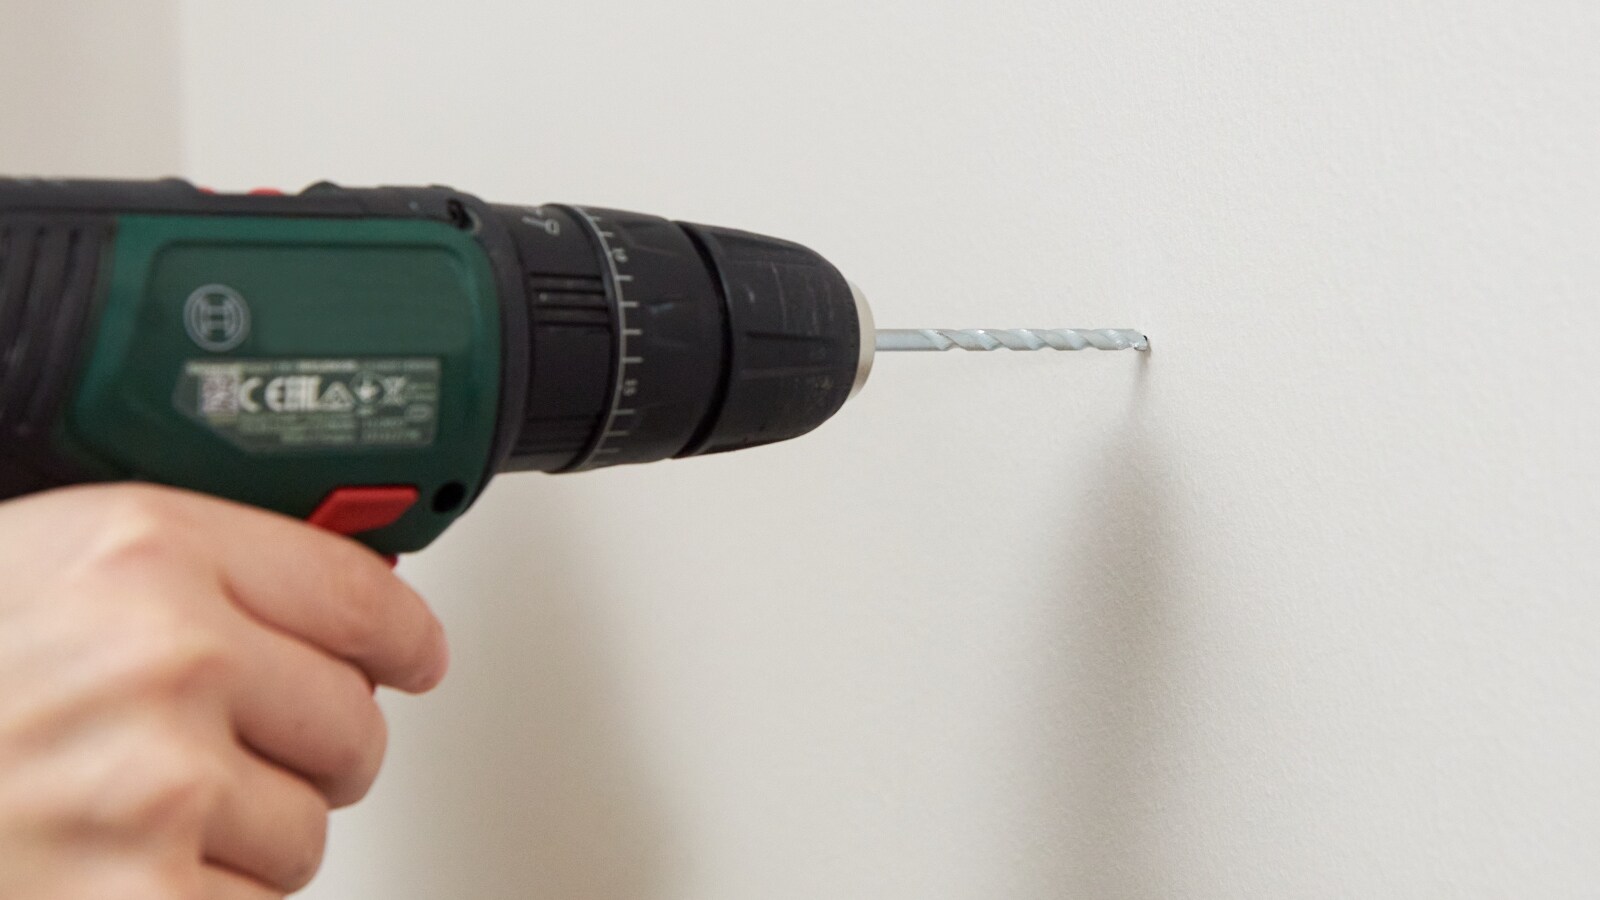
Once you've finished marking up, drill both holes and attach thepegboard to the wall using rawlplugs and screws.
 Step 4
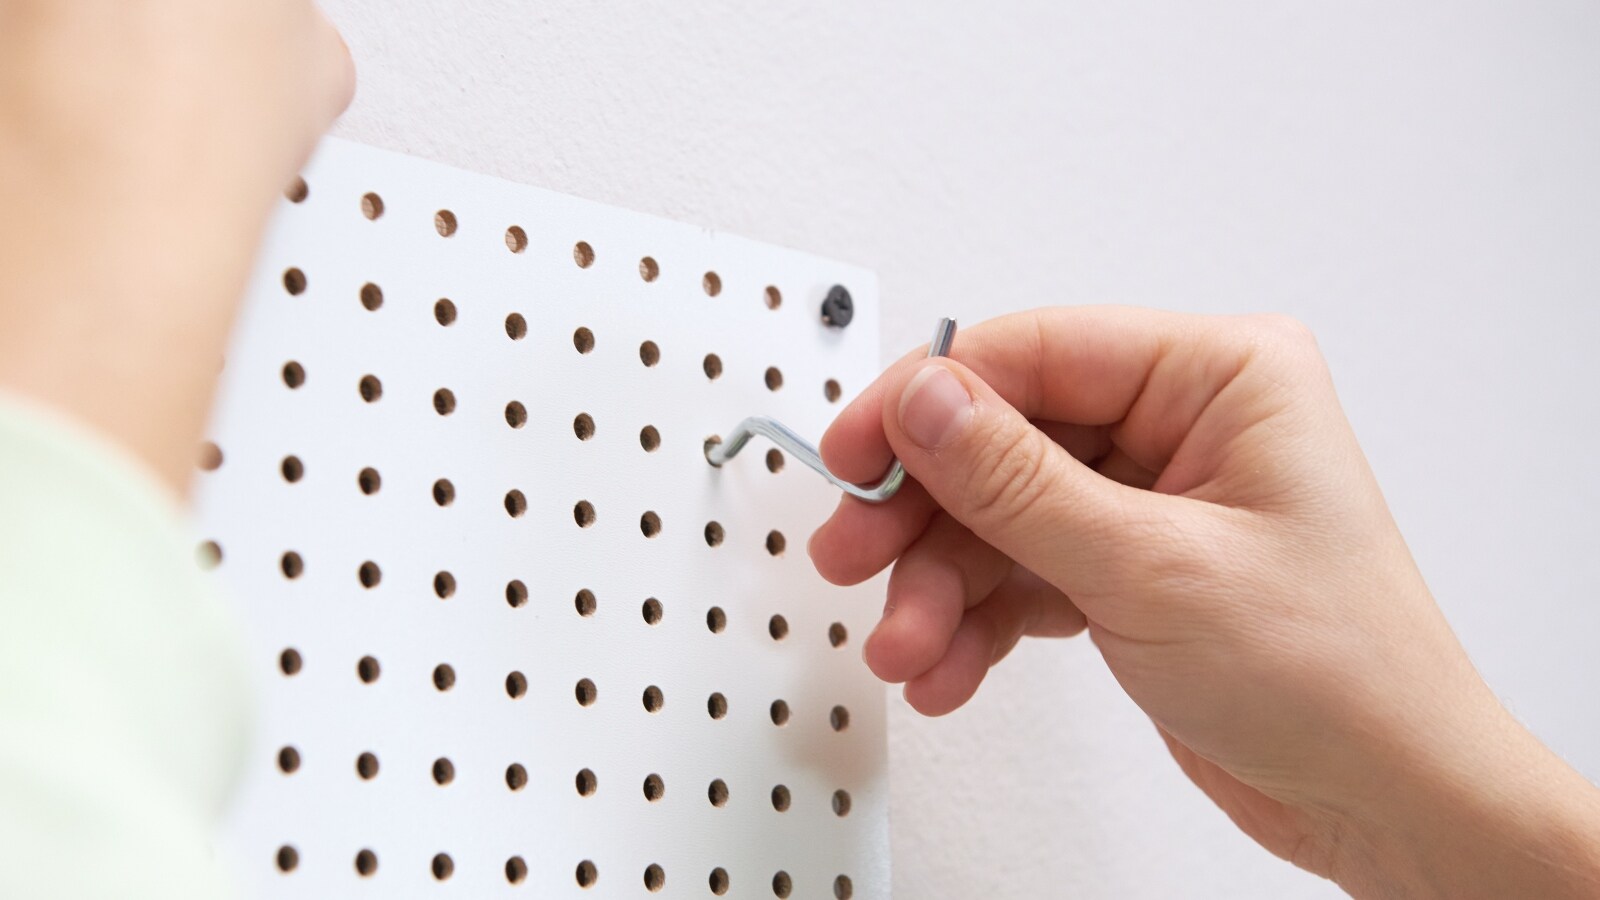
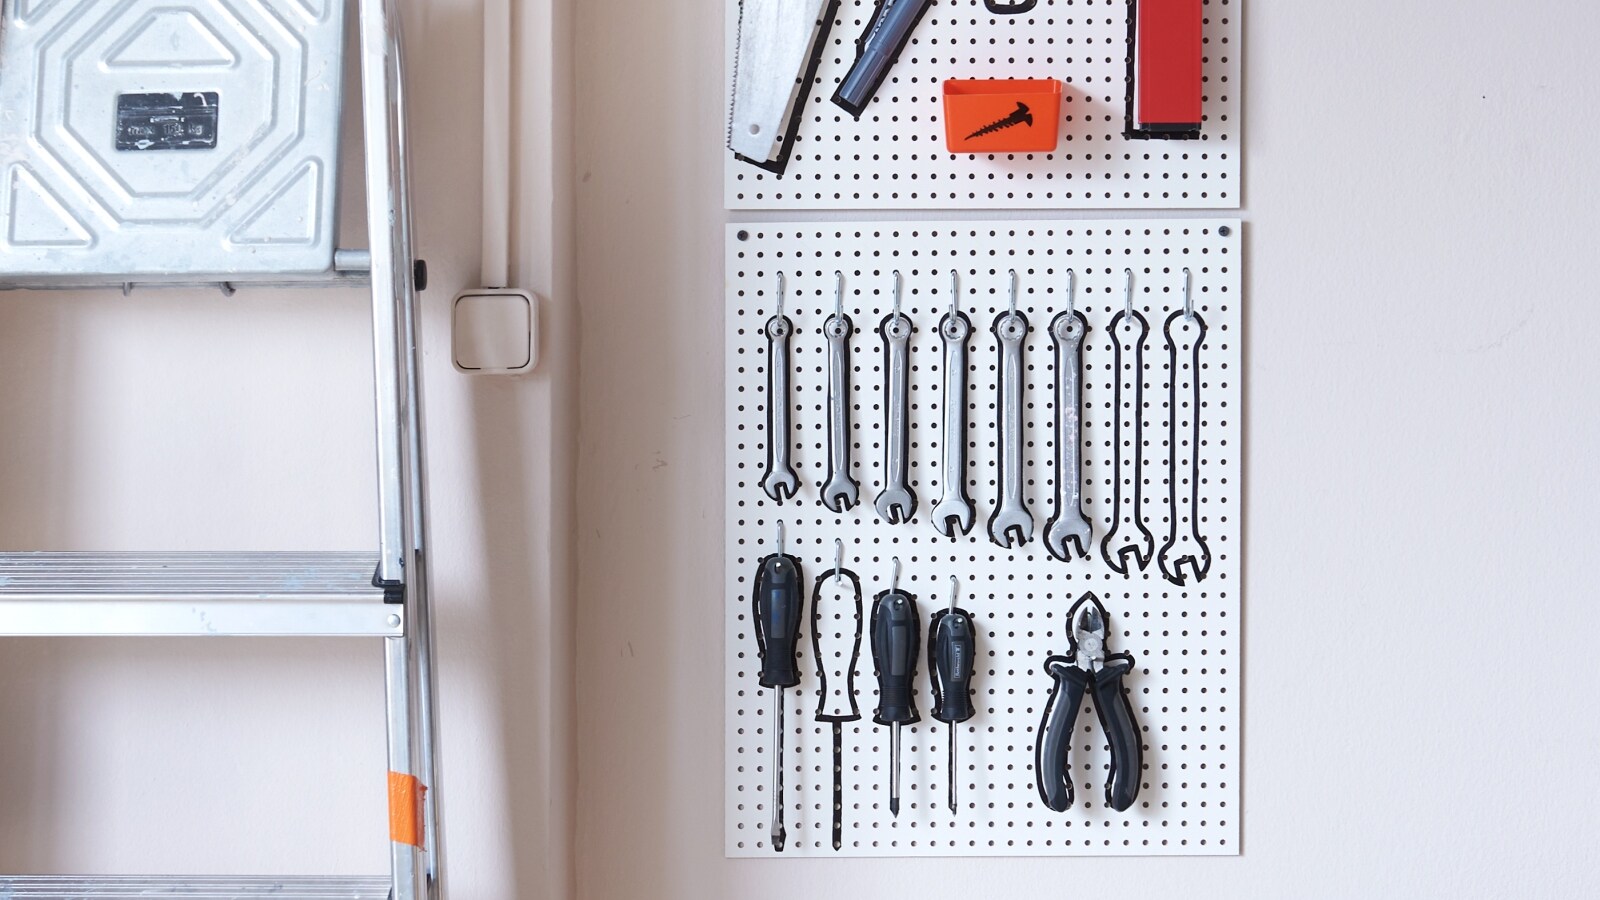
Next, you need to think carefully about which tools you want to hangwhere. For instance, if you want to arrange your spanners in a rowordered by size, you'll need to add a row of hooks in your chosenposition on your pegboard.
 Step 5
Next, draw around the outline of each of your spanners using yourpermanent marker.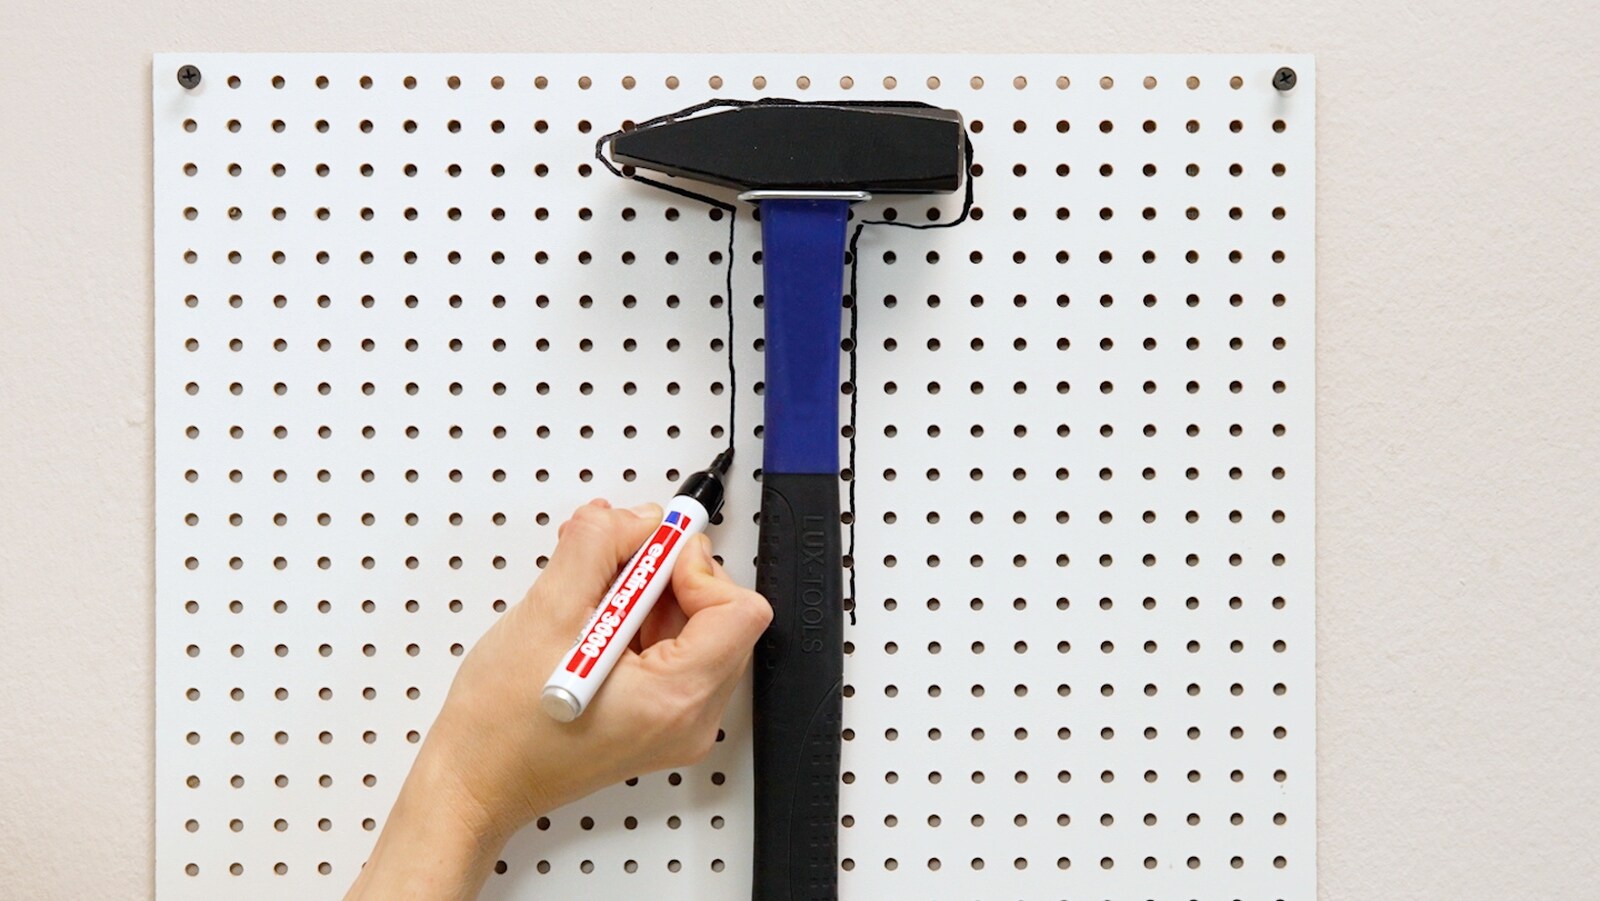
Step 6
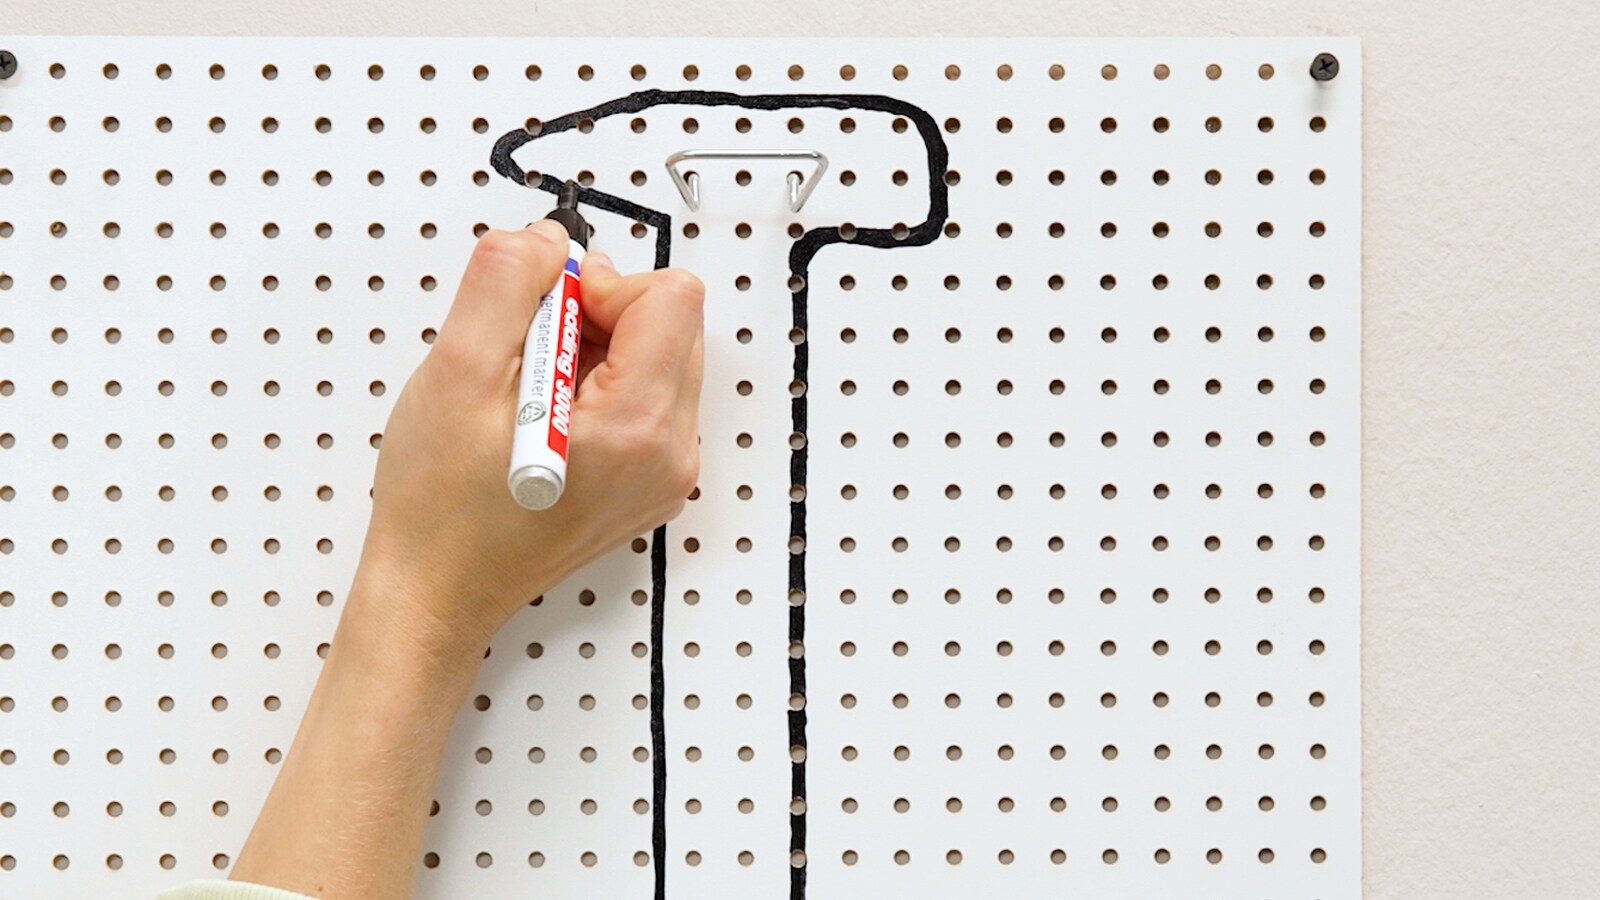
Once you've done that, add a metal hook for your hammer and drawaround it with your permanent marker.
 Step 7
If your lines are too thin when you first draw them, you can always goback over them with your marker to make them bolder.
 Step 8
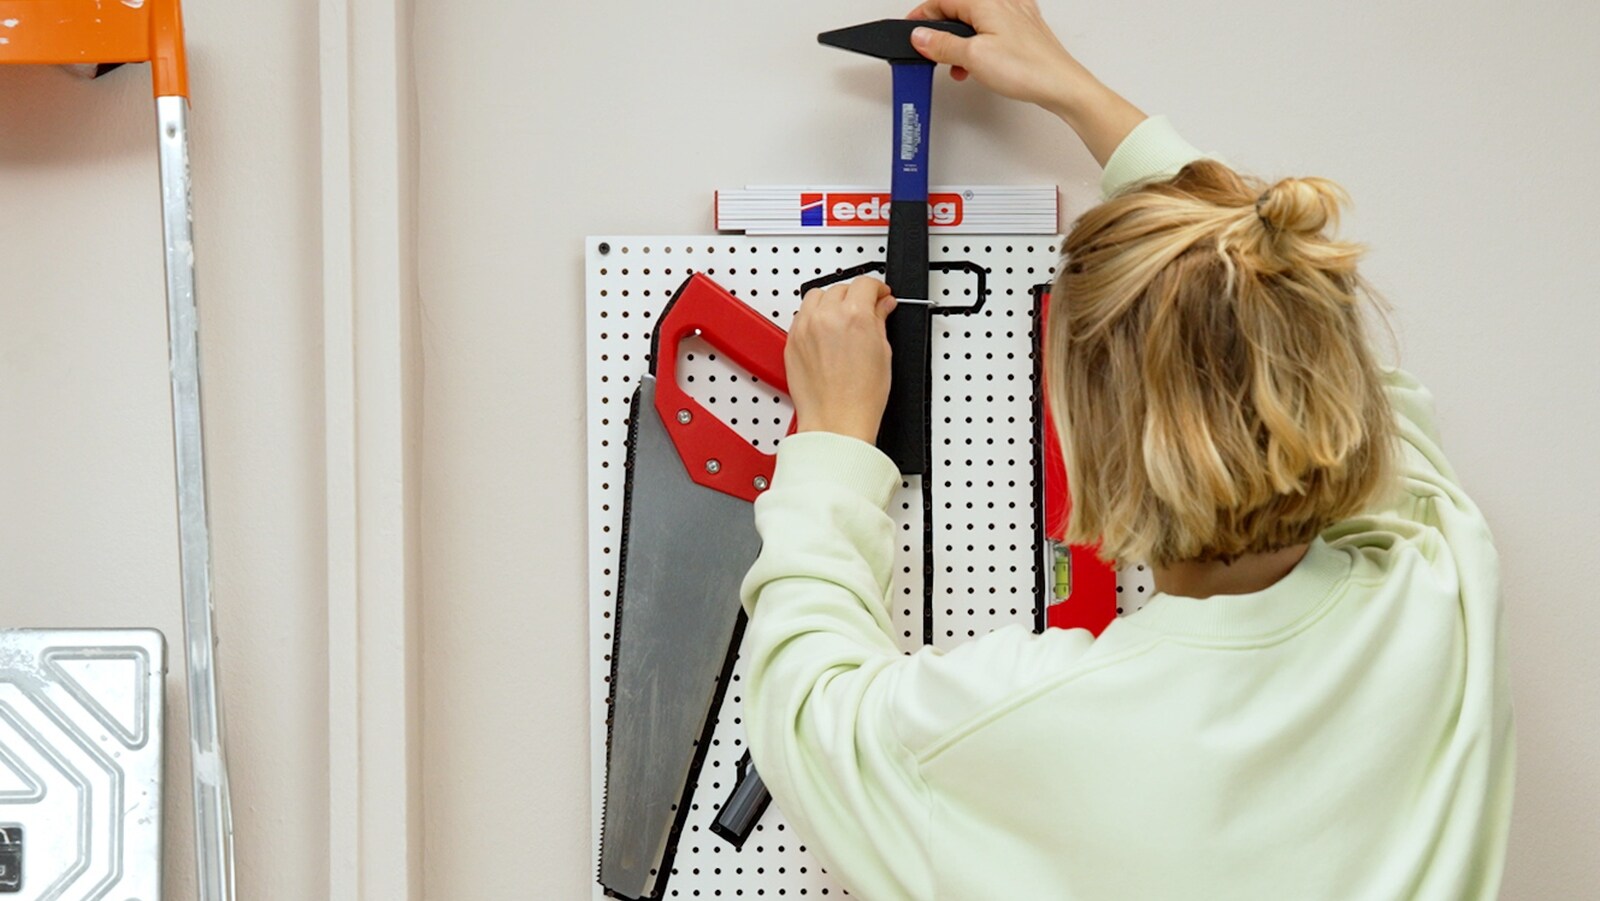
Repeat the process for your saw and other tools until everything has adesignated place and is easy to get hold of at all times.